Felt BBQ [Corn on the Cob]
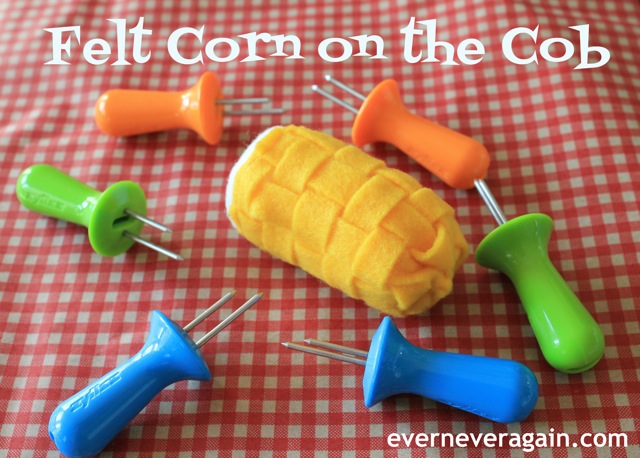
Now that you have your play grill and your grilling apron, you need some food to grill up. So today I'm posting a quick tutorial on how to make felt corn on the cob.
All you need for this is yellow and white felt a little bit of fiberfill, and a needle and yellow thread. Cut two rectangles of yellow felt 4" x 5" and one circle of white 1 3/4" in diameter. Cut one of the rectangles into 1/4" strips lengthwise and one into 1/4" strips vertically. (These should be the same length, even though they don't look it in this picture.)
Next, weave your two rectangles together just like you did when you made a placemat in elementary school art class. Remember doing that with construction paper?
Once you have them weaved together sewing along both sides that have loose ends to secure them.
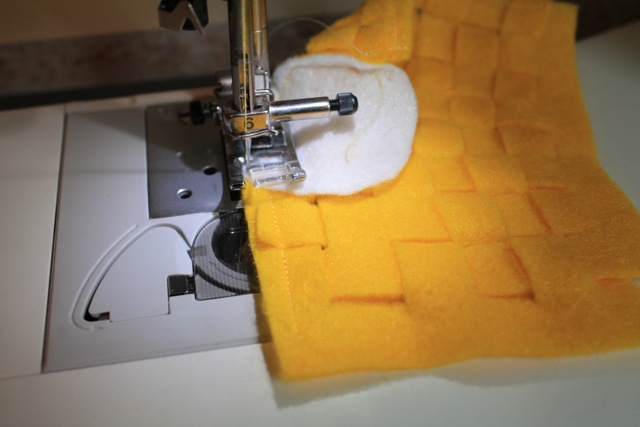
Next, start sewing the white circle to the long edge of the rectangle. As you sew you need to pull the circle towards you to keep rolling it along the edge. Go slowly.
Then your corn should look like this:
Line up the side edges and sew from the white end to the yellow end, curving in a little.
Trim the edges.
Then turn inside out and stuff with fiber fill. Finally, sew all the way around the opening weaving in and out and then cinching tight.
Secure with a few extra stitches once you've pulled it tight. And now you have your very own mini corn on the cob!
Serve with other BBQ favorites. Enjoy!
One last Kids BBQ post tomorrow. See you then. Thanks for reading!
- Haley


Making corn on the cob is on my felt food to-do list. I love the look of yours! Thank you for sharing the tutorial.
ReplyDelete